It is possible to preformat dynamic slices by using the Edit Element Formats button in the subset editor. However that formatting is static and will not apply to new elements of a slowly changing dimension. Also it takes a long time to load/save when you try to apply it to more than a few dozen elements.
As an example, we will demonstrate how to dynamically alternate row colors in a TM1 report for a Customer dimension.
.Open subset editor for the Customer dimension
.Select some elements and click "Edit Elements Format"
.the "Edit Element Formats" worksheet opens, just click Save as "colored row"
this creates the }DimensionFormatStyles_Customer dimension and the }DimensionFormats_Customer cube.
Now we can modify this cube with our rules.
open the rules editor for the }DimensionFormats_Customer cube, add this:
#alternate row colors for all elements

['colored row','Cond1Type'] = S: '2';

['colored row','Cond1Formula1'] = S: '=MOD(ROW(),2)=1';

['colored row','Cond1InteriorColorIndex'] = S: '34';

['colored row','Cond2Type'] = S: '2';

['colored row','Cond2Formula1'] = S: '=MOD(ROW(),2)=0';

['colored row','Cond2InteriorColorIndex'] = S: '2';
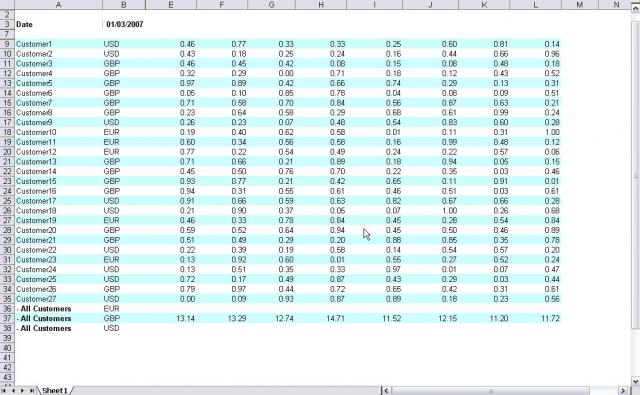
now slice a view with the Customer dimension, applying that "colored row" style.
result:

To create a different style:
- Edit one element from the "Edit element format", apply the desired formatting and save
- Note the new values of the measures in the }DimensionFormats_Customer cube for that element
- Reflect these changes in the rules to apply to all elements for that style

Add new comment